
How to Use the Snipping Tool on Mac 2024. In contrast to Windows, macOS does not provide an official snipping tool.
Rather, the built-in Screenshot app provides functionality that is functionally equivalent to that of an official snipping tool.
It is helpful for taking screenshots of a certain section of the screen, as its name suggests, which may be done using this tool.
You won’t need to download any other applications in order to take screenshots on macOS because the built-in capture tool is more than capable of doing the task.
If you are coming from Windows, you may want to keep reading because we are going to discuss how to use snipping on a Mac.
How Do You Use the Snipping Tool on Your Mac?
You have the ability to capture a snapshot of either the entire screen or a specific region of the screen using the Screenshot software on your Mac. You can also use it to seize the contents of a certain window.
The snipping or capture tool on the Mac does not always function properly. Because of constraints imposed by digital rights management (DRM), for instance, you won’t be able to create snippets on a Mac using some applications, such as Apple TV and Netflix.
On a Mac, you may get the snipping tool by pressing the keys Shift + Command + 4 all at the same time.
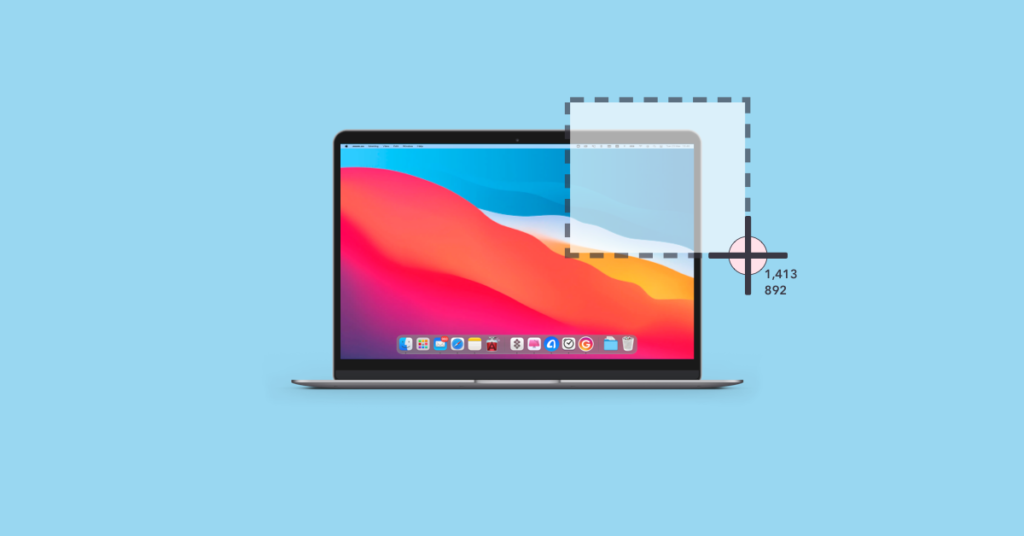
The screen will display a crosshair once you have completed this action. You can drag it to select a certain area of the screen to take a screenshot of.
A shadow will appear over the portion of the screen that is going to be captured. Hold down the space bar while dragging the darkish region to move it while using the snipping tool.
This will allow you to shift the area. On a Mac, you also have the option to display the cursor in the screenshots you take.
Pressing the ESC key will put an end to your use of the snipping tool. If there is no darkened area on the screen, another option is to press the trackpad (right-click or Control-click if you are using a mouse).
You may also take a screenshot of the entire window by using the snipping tool. When you simultaneously press the Shift key, the Command key, the number 4, and the space bar, the cursor will be replaced with an icon of a camera.
When you move the cursor over a window on the screen, the window will get highlighted in either blue or yellow depending on where the icon is.
When you are ready to start cutting the screen, you should let off of the trackpad (or mouse). There will be a thumbnail displayed in the upper right hand corner of your Mac. If you want to edit or annotate it on your iPhone or iPad, you can do so by clicking on it.
It will be saved on the desktop if you use the trackpad to slide the thumbnail to the right. After a few seconds of inactivity on your part, the file will be saved by itself regardless of what you do.
You may also use the snipping tool on a Mac by pressing the Command key, followed by Shift, and then the 5 key on the keyboard.
When you press the keys, the Screenshot app will open, and a list of available selections will appear at the bottom of the screen.
Click the Capture button when you have dragged the frame to the area of the screen that you want to cut out.
When you open the snipping tool by pressing Command + Shift + 5, you should be aware that the region that is beyond the frame will become darker.
You have the ability to alter the default destination of screenshots taken using the snipping tool on any Mac running macOS Mojave or a later version of the operating system.
Launch the Screenshot app by pressing Command + Shift + 5, then select Options from the menu that appears.
The new default place for the screenshots can be selected by using the dropdown menu under Other Locations and clicking on that option.
Adding the Snipping Tool to the Touch Bar
If you don’t like having to hit so many keys at once and you have a MacBook with a Touch Bar, you can add a shortcut to the Screenshot app to the Touch Bar so that it appears whenever you press that key combination.
How to do it:
- Go to System Preferences > Keyboard > Keyboard.
- Click on the dropdown menu next to “Touch Bar shows” and click on App Controls.
- Click on Customize Control Strip.
- A list of icons for app shortcuts will appear on the screen. Click on the Screenshot app shortcut and drag it down to the Touch Bar. It’ll automatically be added to it.
If the Touch Bar on your MacBook isn’t displaying anything, there are a few typical solutions you can try to fix it. However, it’s quite improbable that the Touch Bar will break down on you.
When you have finished adding the shortcut, all you need to do to access the snipping tool on your Mac is click on the Camera icon that is located on the Touch Bar. After positioning the frame over the region you wish to record, select the Capture button.
Start Snipping on Your Mac
Snipping is a simple and quick skill to pick up on a Mac. To take a screenshot of the area of the screen that you wish to include in your picture, you need just hit a few keys all at once.
Snipping with the keyboard shortcut is the most easy way to take screenshots on your Mac. You can take screenshots using a variety of other techniques as well, but using the keyboard shortcut is the easiest.

